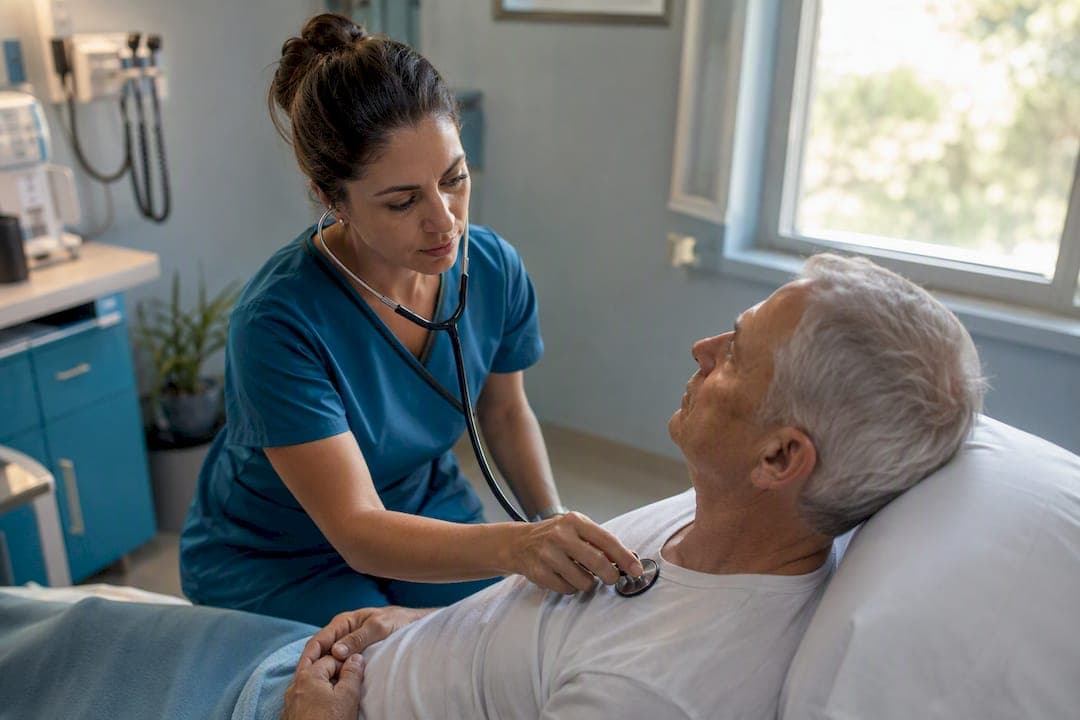
A head-to-toe assessment is a systematic, ordered physical exam that moves from the patient's general appearance down through every body system to catch problems before they escalate. Run through this mini-checklist on any patient, any shift:
- Confirm identity, then check airway, breathing, circulation, consciousness, and safety (ABCCS)
- Complete a general survey and record full vital signs
- Work through neuro, HEENT, respiratory, cardiac, abdomen, GU, extremities, and skin
- Document specific findings and escalate immediately if anything looks unstable
If a finding is acutely abnormal (unequal pupils, absent pulse, oxygen saturation dropping), stop the routine exam and call for help first.
Key Takeaways
A head-to-toe assessment succeeds when the primary safety survey comes first, every system gets checked in order, and findings are documented specifically enough to support trend detection and escalation.
| Point | Details |
|---|---|
| Safety survey comes first | Check airway, breathing, circulation, consciousness, and safety before any routine system exam. |
| Gather equipment in advance | Stethoscope, penlight, timing watch, gloves, sanitizer, and a wound tool prevent mid-exam scrambling. |
| Auscultate the abdomen before palpating | Palpation can stimulate bowel sounds, so listen first to get an accurate baseline. |
| Document specifics, not "WNL" | Vague charting fails legal review and starves early-warning scoring systems of real data. |
| Reassess at set intervals | Repeat full assessments on admission, shift start, and any status change, per standard clinical protocol. |
Table of Contents
- What Is a Head-to-Toe Assessment in Nursing?
- What Do You Need to Prepare Before Starting?
- Which Physical Exam Techniques Should You Use and When?
- The Complete System-by-System Checklist
- How Do You Document Findings and Know When to Escalate?
- What Do Instructors Wish Students Knew Before Checkoffs?
- Where to Find Authoritative Checklists and Practice Resources
- What Most Nursing Programs Get Wrong About This Skill
- Frequently Asked Questions
- Sources
What Is a Head-to-Toe Assessment in Nursing?
A nursing head-to-toe assessment is the structured process of examining a patient from scalp to feet, using inspection, palpation, percussion, and auscultation to build a complete clinical picture in one sitting. It is not the same as a spot-check of vitals or a quick "how are you feeling" at the door. It is the foundation the rest of the nursing process rests on, because flawed or incomplete data collection at this stage leads directly to flawed clinical judgment later. Get the exam wrong, and every care decision built on top of it inherits that error.
The term shows up interchangeably with "complete physical exam," "full body checkup," and "head-to-toe evaluation" in nursing coursework, but they all point to the same skill: a repeatable, ordered process you can perform under time pressure without missing anything that matters.
What Do You Need to Prepare Before Starting?
Gather your equipment before you walk in. Chasing down a stethoscope mid-exam breaks your flow and your patient's confidence in you.
- Stethoscope for heart, lung, and bowel sounds
- Penlight for pupil response and oral inspection
- Watch with a second hand (or phone timer) for accurate respiratory and pulse counts
- Gloves and hand sanitizer for standard precautions
- Wound measurement tool if any dressing or skin breakdown is documented or suspected
Once you're at the bedside, perform hand hygiene, check the door for transmission-based precaution signage, introduce yourself, and confirm two patient identifiers — name and date of birth, not room number. Explain what you're about to do in plain language, and ask permission before exposing any body area. That's your consent step, and it takes ten seconds.
Before touching anything else, run the primary survey: airway, breathing, circulation, consciousness, and safety (ABCCS). If the patient can't speak in full sentences, looks cyanotic, or is unresponsive, stop the head-to-toe entirely and call for help. Everything else waits.
Pro Tip: Plan your exam route mentally before you start. Assess both sides of a paired structure (lungs, pulses, grip strength) back to back instead of hopping around. It cuts repositioning time and spares your patient from being flipped and prodded more than necessary.
Which Physical Exam Techniques Should You Use and When?
Every system in the body responds to one or more of four core techniques, and knowing which to use, and in what order, is what separates a checkoff pass from a checkoff redo.
- Inspection: Look first, always. Observe color, symmetry, movement, and obvious distress before you touch anything.
- Palpation: Use light pressure first, deeper pressure second. This is how you assess pulses, skin temperature, edema, and tenderness.
- Percussion: Tap to assess underlying density (fluid, air, solid tissue). Less common at the bedside, but expected in some abdominal and thoracic checkoffs.
- Auscultation: Listen with the stethoscope, and for the abdomen specifically, auscultate before you palpate, since palpation can artificially stimulate bowel activity and skew what you hear.
For pediatric patients, save the most invasive or startling exam (ears, mouth, or anything requiring restraint) for last. For older adults, allow extra time for position changes and speak clearly and directly. For patients with limited mobility, adapt positioning instead of forcing standard positions that risk injury or pain. Clean your stethoscope diaphragm between patients, every time, no exceptions.
The Complete System-by-System Checklist
Start broad, then narrow. A general survey takes fifteen seconds and tells you more than most students expect: Is the patient alert, comfortable, in distress, appropriately groomed? Record full vital signs next, temperature, pulse, respirations, blood pressure, and oxygen saturation, since a single abnormal vital often flags a system issue before you ever lay hands on the patient.
Neurologic baseline Check level of consciousness, orientation to person/place/time/situation (A&O x4), pupil response with your penlight (PERRLA: pupils equal, round, reactive to light and accommodation), and a quick bilateral grip and strength check. A sluggish or unequal pupil response is a red flag that warrants an immediate neuro consult, not a "recheck later" note.
HEENT (head, eyes, ears, nose, throat) Inspect facial symmetry, oral mucosa color and moisture, and confirm PERRLA. Drooping on one side of the face or dry, cracked mucosa are common abnormal findings that point toward neuro events or dehydration, respectively.
Respiratory Watch chest rise for equal expansion, then auscultate all lung fields, anterior and posterior. Clear bilateral breath sounds are your normal. Crackles, wheezes, or diminished sounds on one side need a documented location and an immediate reassessment plan, not a vague "abnormal" note.
Cardiovascular and peripheral vascular Auscultate the apical pulse at the fifth intercostal space, midclavicular line. Palpate peripheral pulses bilaterally and check capillary refill (under three seconds is normal). Grade any edema on a 1+ to 4+ scale. Absent pedal pulses or refill over three seconds means an escalation call, not a chart note for the next shift.
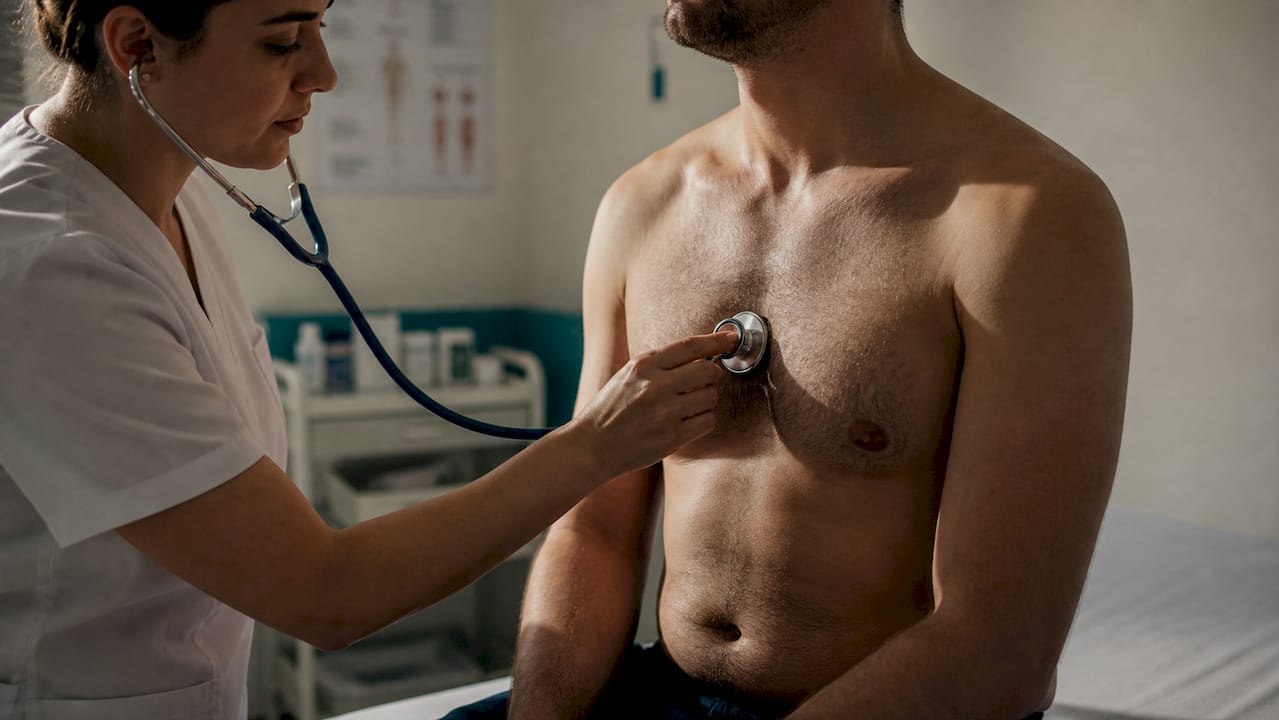
Abdomen Inspect first for distension or visible pulsation, auscultate all four quadrants starting in the right lower quadrant, then lightly palpate for tenderness or guarding. Rigid, board-like abdomen with rebound tenderness signals possible peritonitis, an urgent, not routine, finding.
GU and catheter checks When relevant, inspect for distension, note last void time, and check catheter drainage color, clarity, and output volume if one is present.
Extremities and musculoskeletal Assess range of motion, handgrip strength bilaterally, and CWMS (color, warmth, movement, sensation) in each limb. Note gait and any assistive device use. Sudden asymmetric weakness is never a "monitor and see."
Skin, back, and pressure points Inspect the back and sacrum, common pressure injury sites, especially in patients with limited mobility. If you find a wound, measure it precisely with your wound tool rather than estimating.
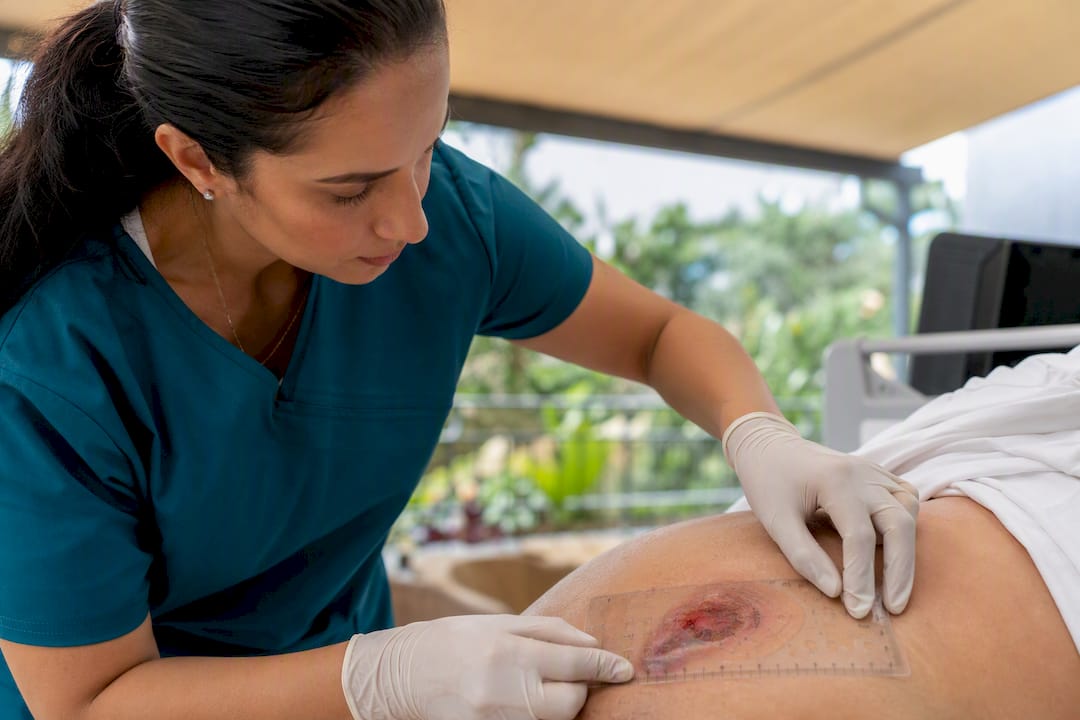
Comprehensive head-to-toe assessments happen on admission, at the start of every shift, and any time patient status changes/02%3A_Patient_Assessment/2.05%3A_Head-to-Toe_Assessment_Checklist) — that frequency is what turns a one-time snapshot into a trend line your care team can actually use.
How Do You Document Findings and Know When to Escalate?
Chart what you actually saw, not a shortcut phrase. "Lungs clear bilaterally, no adventitious sounds, respirations 16 and unlabored" tells the next nurse something real. "Lungs WNL" tells them nothing, and if a patient decompensates six hours later, that vague note is the one a review board will ask about.
- Compare today's findings against the patient's own baseline, not just a textbook normal range
- Note trends explicitly: "Pulse ox down from 97% to 93% since 0700" is more useful than a single isolated number
- Use your unit's early warning scoring system (many facilities use NEWS2 or MEWS) as a structured way to flag deterioration before it becomes a crisis
- If something's off but not acutely dangerous, perform a focused reassessment of just that system rather than repeating the full exam
- When you do escalate, use SBAR: Situation, Background, Assessment, Recommendation, so the receiving provider gets exactly what they need in the order they need it
A baseline head-to-toe assessment only has value if every later assessment gets compared against it. Without that first accurate, specific baseline, trending deterioration is nearly impossible to catch early, and early-warning scoring systems are only as reliable as the documentation feeding them.
Specifics beat checkboxes every time a chart gets pulled into a legal review.
What Do Instructors Wish Students Knew Before Checkoffs?
Experienced nurses don't do head-to-toe assessments in a rigid, linear crawl. They overlap. While auscultating the heart, they're watching chest rise and skin color. While palpating an IV arm, they're checking capillary refill and grip strength in the same motion. That's how a full assessment gets done in roughly six to ten minutes at the bedside instead of thirty.
The two biggest checkoff failures instructors report: skipping the primary safety survey to jump straight into systems, and documentation so generic it wouldn't hold up if questioned. Fix both by narrating your primary survey out loud during practice runs, and by writing specific findings even in drills.
Nursing School Pro's study center breaks these techniques into practice questions with instant rationales, so you're not just memorizing a checklist order, you're understanding why each step exists before your checkoff day arrives.
Where to Find Authoritative Checklists and Practice Resources
For deeper study, the NCBI Bookshelf head-to-toe checklist and the LibreTexts clinical procedures chapter offer printable, exam-aligned reference formats. Nursing School Pro's vital signs and GCS guide pairs well with both for quick review.
What Most Nursing Programs Get Wrong About This Skill
Most programs teach head-to-toe assessment as a memorization exercise: a fixed order, a checklist to recite, a box to check off. That approach produces students who can pass a checkoff in a controlled lab setting and then freeze the first time a real patient's abdomen doesn't sound like the textbook description.
The better framing, and the one the clinical literature actually supports, treats this exam as a data-gathering skill in service of pattern recognition. You're not collecting findings to fill a form. You're building a baseline you'll compare against every subsequent shift, which is the entire mechanism behind early-warning scoring systems catching deterioration before a code gets called.
Where I think the conventional advice falls shortest is on documentation. Students get drilled on exam order for months and get maybe one lecture on charting language, yet vague notes are exactly what turn a defensible assessment into a liability. If you take one thing from this guide into your next clinical rotation, make it this: write down what you actually observed, in specific terms, every single time, even when nothing looks wrong. That habit, not exam speed, is what separates students who thrive on the floor from those who get caught flat-footed.
Frequently Asked Questions
How long should a full head-to-toe assessment take? In a classroom checkoff, expect it to take longer as you're learning the sequence. At the bedside, experienced nurses complete an integrated version in roughly six to ten minutes by overlapping observations across systems.
What's the difference between a head-to-toe assessment and a focused assessment? A head-to-toe assessment covers every system in order. A focused assessment zooms in on one system, prompted by an abnormal finding, a specific complaint, or a status change.
How often should a head-to-toe assessment be repeated? Standard practice calls for a full assessment on admission, at the start of every shift, and whenever a patient's status changes. Anything abnormal in between warrants a focused reassessment of that specific system.
Can I skip the primary safety survey if the patient looks stable? No. The ABCCS check takes seconds and is the single most commonly skipped step among trainees, which is exactly why it causes the most missed emergencies.
What should I do if I find something abnormal mid-exam? Document the specific finding immediately, compare it against the patient's baseline, and escalate through your chain of command using SBAR if it represents a meaningful change or safety concern.
This article is general information, not a substitute for advice from a qualified doctor. Consult a qualified healthcare professional about your own circumstances before acting on anything here.
Sources
- Nursing Skills Internet. Appendix C – Head-to-Toe Assessment Checklist (NCBI Bookshelf)
- Head-to-Toe Assessment Checklist (OpenTextBC / Clinical Skills)